
Imagine stepping into your garden to pluck fresh lemon balm leaves for a calming herbal tea or harvesting holy basil for its rejuvenating qualities.
You can bring the healing power of nature right into your backyard by starting your own organic herb garden, filled with plants that offer a wealth of medicinal benefits.
In today’s guide, we will walk you through everything you need to know to kickstart your herbalist garden—even if you’ve never planted a seed before.
So go ahead, grab your garden shears and your sun hat. Let’s roll up our sleeves and get our hands a little dirty as we learn about medicinal herb gardening for beginners.
Step 1: Assess Your Space
So, you’re ready to dig– literally– into medicinal herb gardening for beginners. Fantastic!
Before you go hit up your local nursery, though, there are a few things to think about:
Choose a Sunny Spot for Your Medicinal Herb Garden
Sunlight, along with water and nutrients, is one of the three pillars of plant growth. To ensure your organic herbs flourish, you’ll need to pick a spot where they’ll get just the right amount of sunshine.
- Full Sun: If you have a corner of your garden drenched in sunlight for 6-8 hours daily, you’ve hit the jackpot if you want to grow herbs like rosemary, thyme, and sage. These plants prefer garden beds where they can sunbathe freely. Use discretion in warmer climates when even full-sun plants can’t handle the summer months. Often, you’ll want to let them get their sun in the morning, then shade them in the afternoon.
- Partial Sun or Partial Shade: Lemon balm, mint, and a few other herbs like some sun but appreciate a break during the blistering midday heat. They’re perfect for spots with 3-6 hours of direct sunlight.
- Shade: Stuck with a yard that’s more shadowy than sunny? A few medicinal herbs like chervil or wild ginger can tolerate less light, though they won’t thrive in it.
Raised Beds, Containers, or Ground Planting?
Here’s the fun part—deciding on a home for your fresh herbs. Let’s look at your options:
Ground Planting
If you have a patch of earth to call your own and your soil drains well, why not go the traditional route by planting your medicinal herb garden directly in the ground?
Ground planting gives your herbs ample room to stretch their roots. It’s also easier to manage soil moisture, as the ground retains water more consistently than containers.
Just be aware of the native soil’s quality. You may need to add organic matter or sand to improve drainage so you.
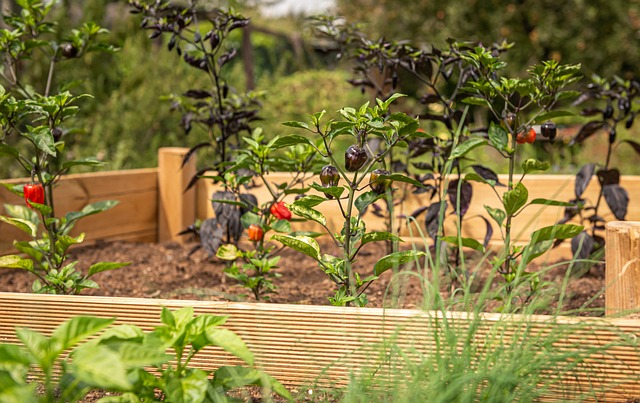
Raised Bed
A raised bed is great if you want a dedicated space for your herb garden. They provide good drainage, keep certain pests out, and can be a back-saver since you don’t have to bend over as much.
Plus, you can design them any way you like—a wooden box frame, stone, or even cinder blocks. Just make sure the depth is suitable for your herbs’ roots.
Containers
Don’t have much space for herb gardening or plants that don’t like staying in a sunny location all day? Containers are your best friends because they’re versatile, portable, and perfect for balconies or patios.
Check that your pots have drainage holes, and pick the right size for each herb. Big herbs like dandelion will need larger pots, while smaller herbs like thyme can cozy up in smaller containers.

Step 2: Pick Your Herbs
You’ve secured the perfect spot for your medicinal herb garden, so now it’s time to talk about which herbs you’ll plant there.
You’ll want to be aware of your USDA Plant Hardiness Zone because it plays a major part in when to plant and what will grow in your area. New Orleans, which is Zone 9B, for example, has a much higher year-round temperature than further North, so we have to plant earlier in the year before the sun is too brutal for more delicate plants that prefer more shade and cooler temperatures.
Try checking with local gardening Facebook groups for advice about planting where you live!
We’ve rounded up a few of the most popular herbs and sorted them into categories, but feel free to mix and match!
Immune Boosters
- Echinacea (Echinacea angustifolia)(ičháȟpe hú, uŋglákčapi): A staple for immune system support. It’s a beginner herb garden classic for a reason.
- Astragalus (Astragalus membranaceus): Traditional Chinese medicine for bolstering immunity.
Calming Herbs
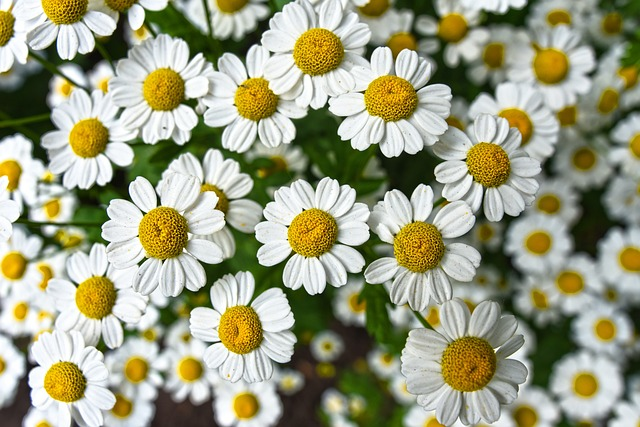
- Chamomile (Matricaria chamomilla): This one’s your bedtime buddy, making it one of the best herbs for those “counting sheep” nights.
- Holy Basil (Ocimum sanctum): Also known as Tulsi, it’s the herbal equivalent of a deep breath in a yoga class. Stress? What stress?
Digestive Aids
- Ginger (Zingiber officinale): A root that supports digestive health and reduces inflammation.
- Peppermint (Mentha × piperita): You won’t need to stock up on antacids when this digestive dynamo grows in your organic herb garden. Mints like to spread, so plan for that!
Natural Antibiotics
- Garlic (Allium sativum): A member of the onion family, garlic acts as a potent natural antibiotic and antiviral. Garlic doesn’t grow great in New Orleans, but it can be done. Check for varieties that work best for your region.
- Oregano (Origanum vulgare): Pizza’s best friend also moonlights as an antibacterial powerhouse.
Skin Soothers
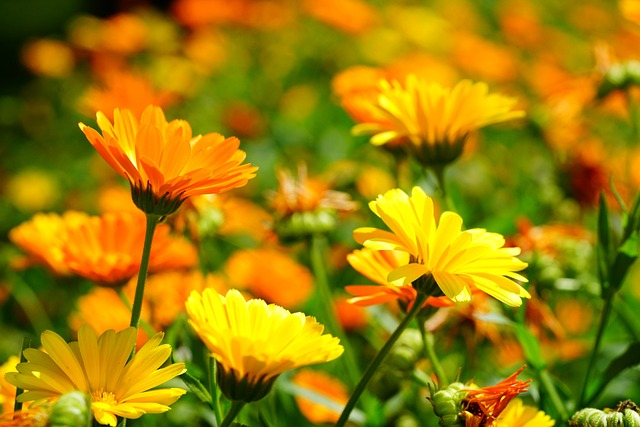
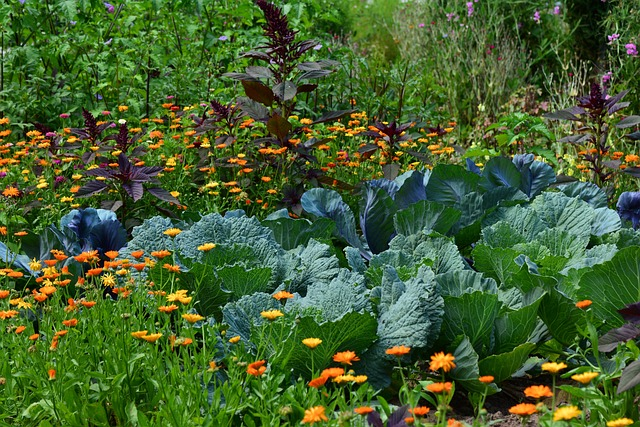
- Calendula (Calendula officinalis): Your future calendula harvest will make for skin-soothing balms and lotions.
- Aloe Vera (Aloe barbadensis miller): Known for its soothing effects on burns and skin irritations.
Perennial Herbs

- Rosemary (Rosmarinus officinalis): Beyond its culinary uses, these tender perennials help with memory and circulation.
- Sage (Salvia officinalis): A perennial herb for sore throats and inflammation.
Pollinator Magnets
Choose pollinators that are native to your region!
- Mint (Mentha arvensis) (čheyáka, čháŋ pȟežúta čík’ala): This perennial herb does wonders for your digestive system and can attract pollinators.
- Anise/Lavender Hyssop (Agastache foeniculum) (waȟpé yatȟápi): Bees and butterflies can’t resist, and neither will you, given its health benefits.
Petite Powerhouses for a Sunny Window
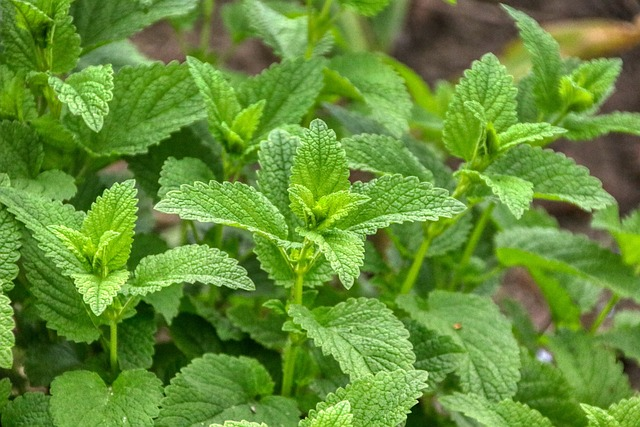
- Lemon Balm (Melissa officinalis): Perfect for compact living and big on stress relief. A sunny windowsill is its happy place.
- Thyme (Thymus vulgaris): Easy to grow and packed with antibacterial properties.
- Chives (Allium schoenoprasum): One of the best plants for windowsill pots and have antibacterial benefits.
Culinary Herbs with Healing Powers
- Basil (Ocimum basilicum): While a kitchen staple for seasoning, it also has anti-inflammatory properties, and bees love basil flower buds.
- Parsley (Petroselinum crispum): If you’re looking for annual herbs, parsley is rich in vitamins and can aid digestion.
Step 3: Plan Your Beginner Medicinal Herb Garden
You’ve figured out where your medicinal herb garden will be and the different plants you want to grow.
Now, let’s go over how to plot out a functional and beautiful garden.
Proper Spacing of Medicinal Herbs
Have you ever tried squeezing into a crowded elevator? Not pleasant.
Plants don’t like overcrowding either because it stifles growth and leads to fungal disease due to poor air circulation.
Here’s how to make sure everyone has room to breathe:
- Small Herbs: Compact growers like thyme, chives, and oregano are content with 1-2 square feet of real estate.
- Medium-Sized Herbs: Plants such as rosemary, sage, and calendula prefer to stretch out a bit, requiring 2-4 square feet each.
- Large Herbs: Species like echinacea and ginger can sprawl, necessitating at least 4-5 square feet of space.
Designing Your Beginners Herb Garden
Planting herbs isn’t just about plopping them into the soil. You want to put effort into creating a space where you enjoy spending time and can easily harvest your herbs.
- Plant in Groups: You can plant groups of herbs by size or usage. For example, culinary herbs like rosemary, sage, and thyme look and smell fantastic together.
- Height and Spread: Consider the eventual height and spread of your herb plants. You should grow herbs like echinacea and ginger at the back and shorter ones like thyme and oregano at the front.
- Color and Texture: Add some visual interest by considering the colors and textures of your medicinal plants. For instance, the silvery leaves of sage contrast nicely with the deep greens of basil and the vibrant orange of calendula.
- Ease of Access: Make sure all your herbs are easily accessible when it’s time for the harvest or when you need some sage for your tea. No one wants to step on their tarragon trying to reach their mint.
Remember, your herb garden is a living entity and might not always go exactly as planned. That’s okay! The most important thing is that you’re creating a space that brings you joy and well-being, and you’ll learn a ton along the way!.
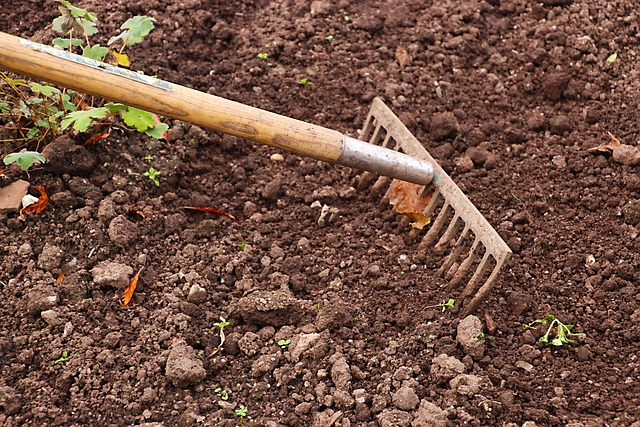
Step 4: Soil Prep
Good soil is the foundation of a healthy medicinal herb garden, so you’ll need to get familiar with the chemistry and composition of the ground beneath your feet.
Understanding Your Soil’s Basic Components
Soil is not just “dirt.” It is a living, breathing entity and the foundation upon which your herb garden will thrive or falter.
Let’s spend some time appreciating all of the pieces that work together to make growing herb plants possible.
Mineral Particles:
- Sand: Sand is the largest particle in soil, is gritty to the touch, and offers excellent drainage. While it doesn’t hold nutrients well, it is great for herbs that require well-drained soil, like rosemary and thyme.
- Silt: Smaller than sand but larger than clay, silt has a smooth, powdery texture. It holds water and nutrients better than sand but can compact easily, leading to poor drainage.
- Clay: Composed of the tiniest particles, clay has high nutrient and water retention capabilities. However, its density can cause drainage issues, leading to root rot in plants that prefer drier conditions.
Organic Matter
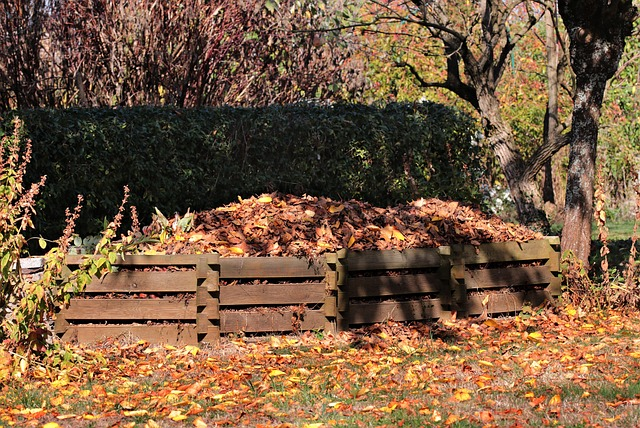
- Compost: Decayed plant and animal matter that enriches the soil with nutrients and improves its water retention and drainage capabilities.
- Humus: The stable, long-lasting component of organic matter, humus improves soil structure and fertility.
- Peat Moss: Spongy material that can hold large amounts of moisture. Many gardeners use it to make soil more acidic.
- Manure: Well-rotted animal waste, rich in nutrients.
Soil Fauna and Flora
- Microorganisms: Bacteria, fungi, and other microorganisms that break down decomposing matter into nutrients.
- Earthworms: These natural tillers aerate the soil and speed along decomposition.
Check Soil Type and Drainage
Before doing anything else, determine the type of soil you have.
You can do a simple “jar test” at home to assess soil composition. Fill a jar halfway with soil and add water. Shake well and let it settle for a few hours. Sand will settle at the bottom, followed by silt and clay on top.
This will give you an idea of your soil type and what amendments you need
As for drainage, unless you’re turning your garden into a swamp, herbs prefer their soil moist, not waterlogged. Overwatering can suffocate and rot the roots.
Here’s a quick test to see if your garden’s soil drains well:
Dig a hole about a foot deep and a foot wide. Fill the hole with water and let it drain completely. Fill again, then watch how long it takes to drain this second time.
You have well-draining soil if it’s gone within an hour or two. If it takes longer, you might have a drainage issue.
Soil pH and Testing
Herbs generally prefer a neutral to slightly acidic soil pH, usually between 6 and 7. You’ll also want to check for contamination and/or nutrients. Testing kits are available at your local nursery and some gardening supply stores, or you can opt for a professional soil test to check nutrient levels.
In the New Orleans area, you can also get tests through the LSU Ag Center.
Amending Your Soil
Based on your soil test, you’ll need to add different amendments:
- For Sandy Soil: Incorporate compost and well-rotted manure to improve water retention and nutrient levels.
- For Clayey Soil: Add coarse sand and compost to improve drainage.
- For Acidic Soil: Add lime to raise the pH.
- For Alkaline Soil: Add sulfur or peat moss to lower the pH.
For potted herbs, invest in high-quality potting soil specifically designed for herb and vegetable gardens to ensure good drainage and nutrient supply.
Turning and Tilling
Turn the soil to a depth of 12-18 inches to integrate the amendments thoroughly and to break up compacted soil.
Deep tilling also helps aerate the earth, facilitating root growth and beneficial soil microbes.
Pre-Planting Watering and Rest Period
Water your soil thoroughly and then let it rest for a few days before planting to allow the soil amendments to integrate fully and ensure that the earth is at the ideal moisture level for planting.
Seasonal Care
Your soil’s needs change with the seasons.
In the fall, consider adding a layer of mulch to help protect the perennial herbs during winter.
In spring, a new layer of compost will prepare the soil for the growing season ahead.
Step 5: Seeds or Young Plants?
You’ve prepared the soil and planned your garden, but another important decision remains before you can plant your beginners herb garden: should you start with seeds or young plants?
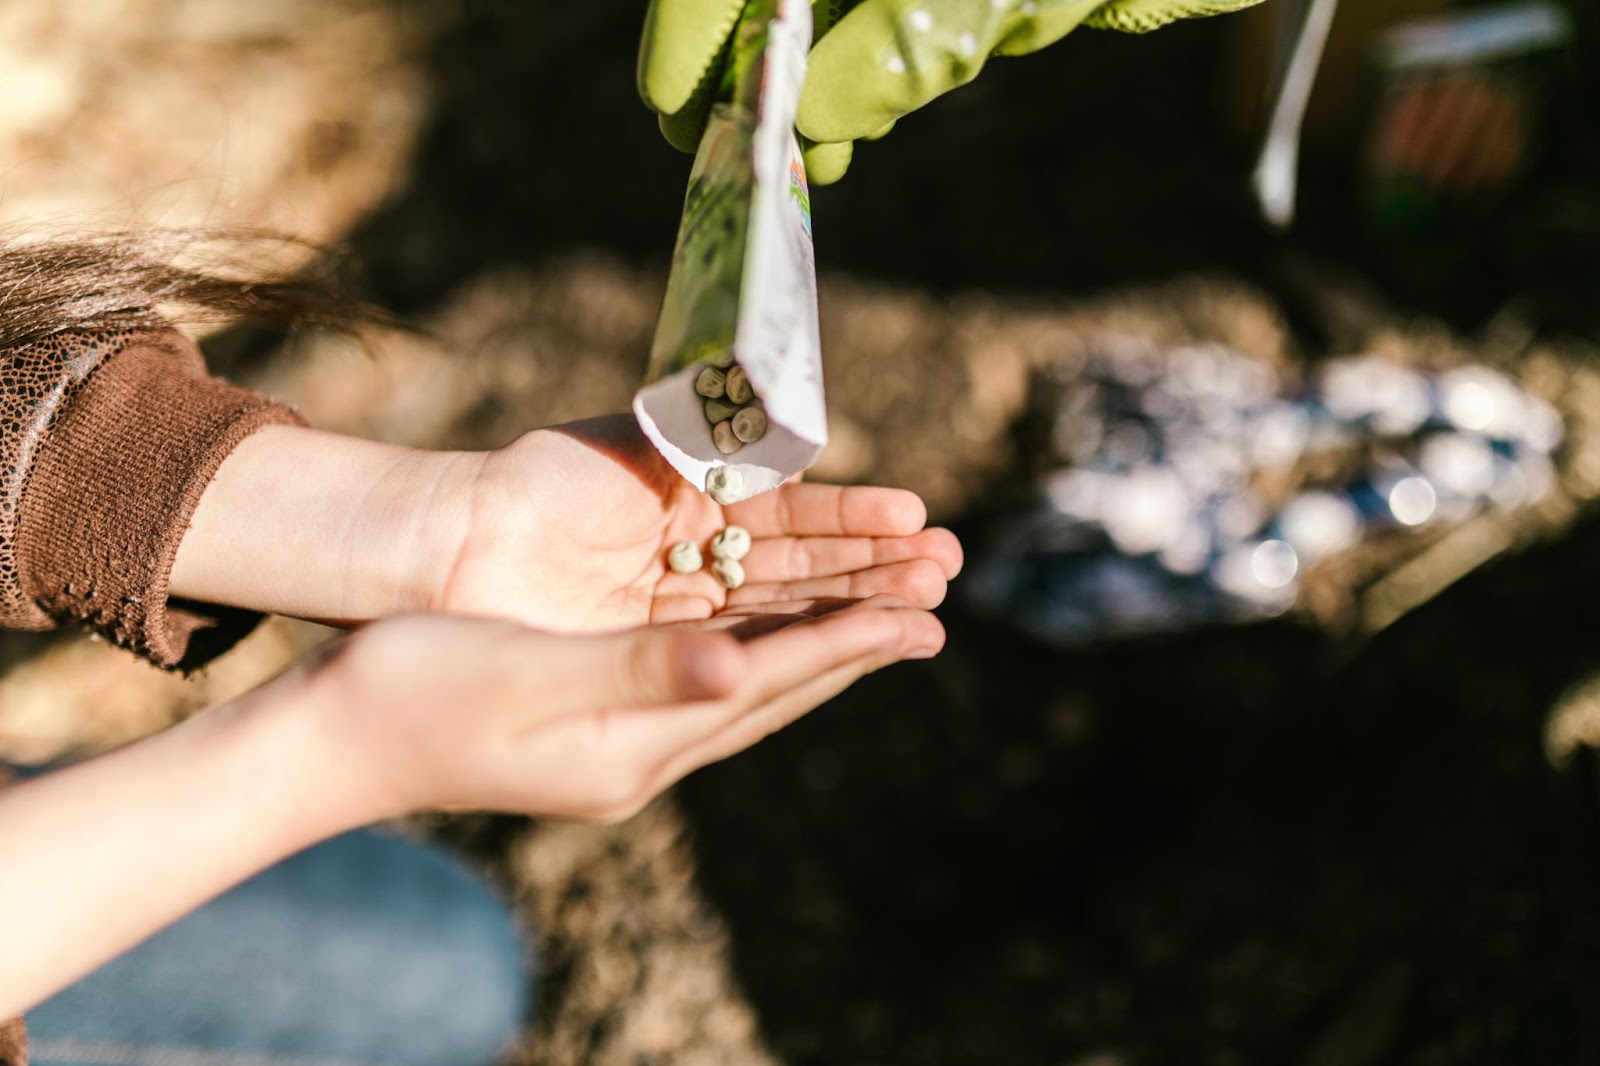
Planting From a Seed Packet
Starting your herb garden from scratch can be incredibly rewarding because you’ll get to see the life cycle of your plants from start to finish.
Seeds also tend to be more affordable, and a wide range of options are available. For instance, if you’re keen on growing culinary herbs, you’ll likely find a far greater variety in seed form than you would with young plants.
However, seeded herbs require more time and effort, including careful attention to temperature, moisture, and other germination requirements like starting them under grow lights.
Even then, seed germination isn’t always 100% guaranteed, so you could end up with empty spots in your herb garden.
Also, it can take several weeks for herb seeds to germinate and grow large enough to be transplanted into your garden, which may not suit those looking for quicker results.
Decoding Seed Packets
When you first start herb gardening for beginners, those little seed packets are an invaluable resource that tells you everything you need to know about how to make your plants grow.
Planting Depth: How deep to plant your seeds in the soil. A general rule is that seeds should be planted about two to three times as deep as their diameter, but always follow the packet’s specific instructions.
Days to Germination: Indicates how long you can typically expect to wait before seeing your seedlings sprout above the soil.
Days to Maturity: The average number of days it takes from planting until the plant reaches maturity, meaning it’s ready for harvest or blooming. For many herbs, this would be the ideal time to harvest for maximum flavor and medicinal properties.
Seed Spacing and Row Spacing: Helps you plan how much space you need between each seed or plant and between each row in your garden. Proper spacing is essential for good air circulation and optimal growth.
Light Requirements: Whether the plant prefers direct sunlight, partial sun, or shade.
Soil Requirements: Some seed packets will tell you the type of soil that is best for that particular plant.
Frost Date: The packet often mentions when to plant in relation to the last expected frost date for your area so that your herb plants are less likely to be damaged by unexpected cold weather.
Direct Sow or Transplant: Whether you can sow directly into your garden’s soil, or if it’s better to start your plant babies indoors and transplant them later. Herbs like dill prefer to be sown directly, while other plants like basil are often started indoors and then transplanted.
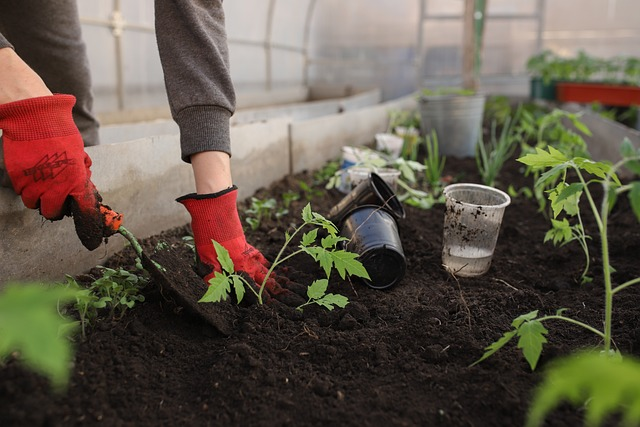
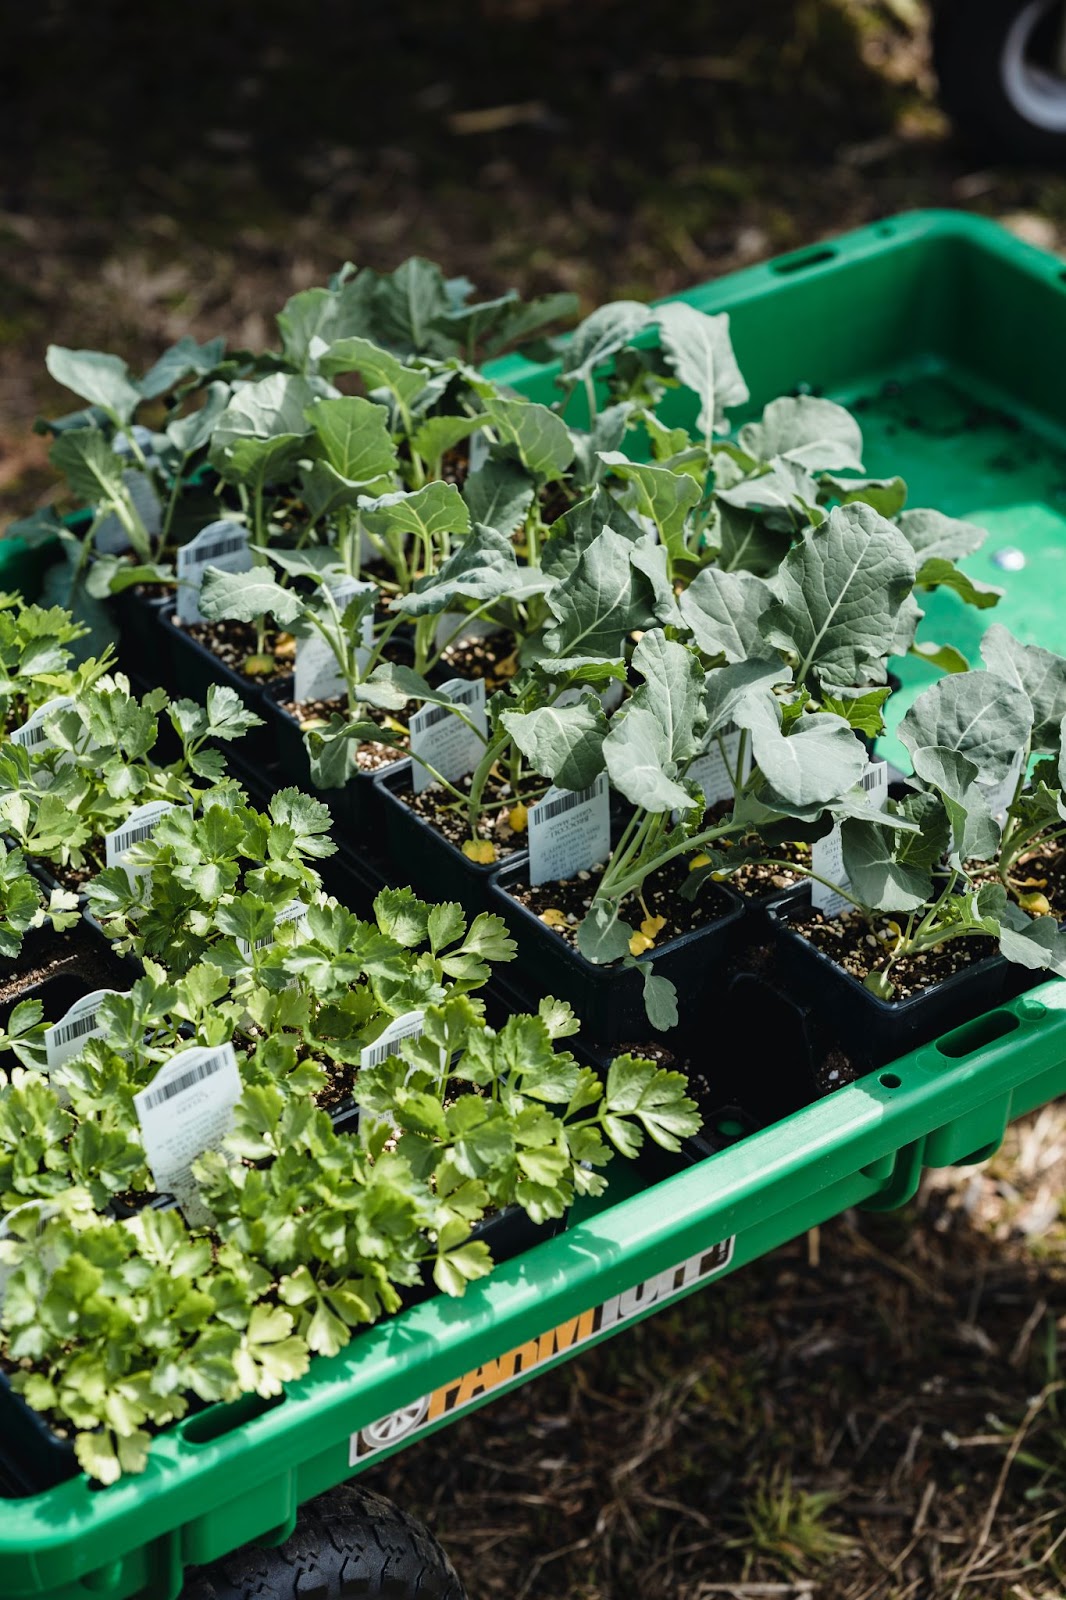
Transplanting
Seedlings are the way to go if you’re looking for a shortcut to a green and luscious garden. These are usually available in small pots and can be directly transplanted into your garden or container.
Seedlings are perfect for beginners herb gardening or folks who missed the seeding window for their chosen herbs.
However, there are drawbacks.
They are generally more expensive than seeds and may have fewer varieties. They can also be a bit delicate right after transplanting, so you’ll need to be extra gentle.
Transplanting Tips
If you go the seedling route, here are some general transplanting tips to get them off to a strong start:
Root Examination: Gently remove the plant from its container and examine its roots. They should be white or light tan and free from any signs of rot.
Hole Depth: Dig a hole twice as wide as the root ball but no deeper. The plant should sit at the same depth as in its original container.
Water Well: Once the plant is in place, fill the hole with soil and water it thoroughly.
Coming Up Next Week!
And that wraps up Part 1 of starting your organic medicinal herb garden journey!
Next week, we’ll share our best tips for medicinal herb garden maintenance. We’ll cover everything from watering schedules and mulching to the art of pruning and, finally, harvesting your own herbs.
Stay tuned!


